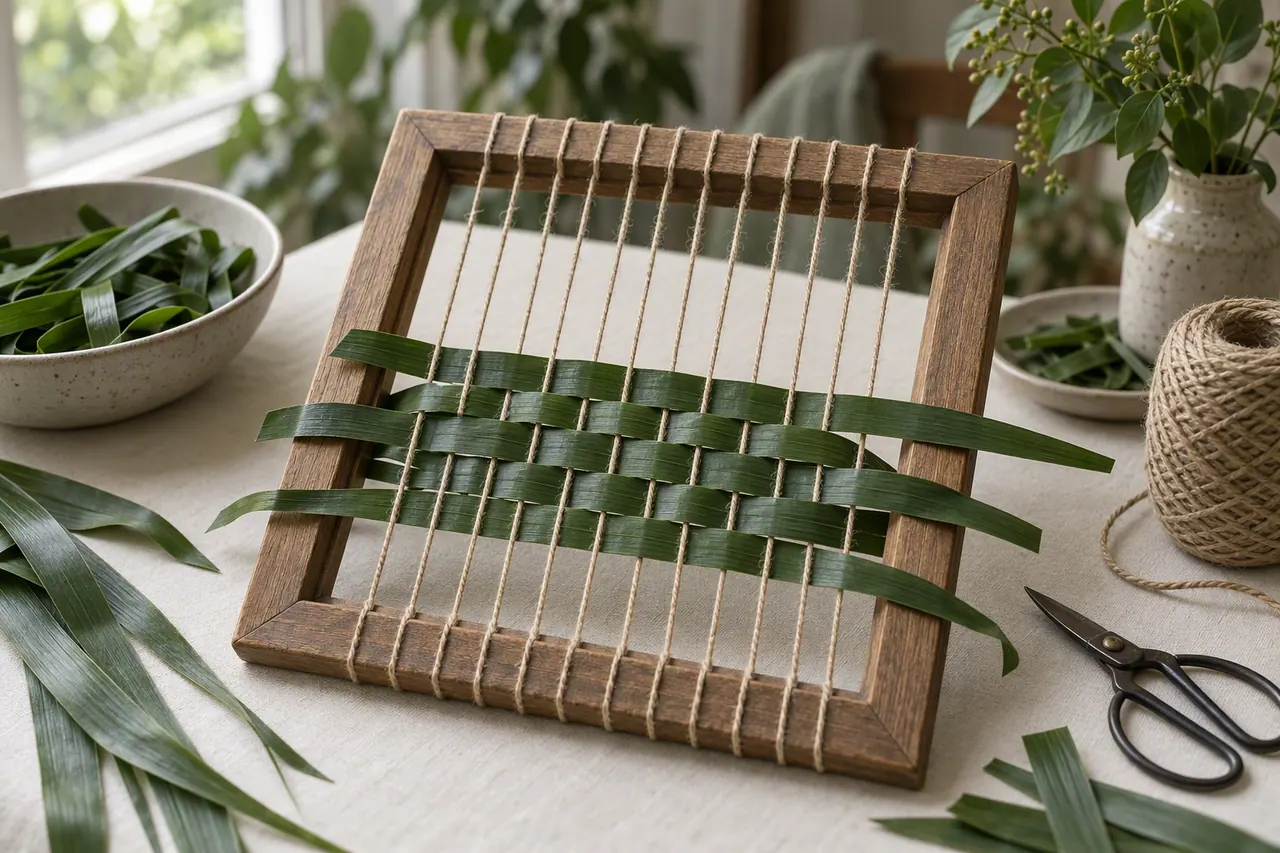

In short
A calm, practical guide to teaching children to weave with palm leaves: the right age to begin, projects that finish in one sitting, and how to keep it fun.
Children take to weaving faster than most adults expect. The over-under rhythm is physical and forgiving, and a finished mat or bracelet gives them something to hold within a single sitting. There is no paint to dry and no glue to set, and nothing goes wrong that cannot be undone by pulling one strip out and starting the row again.
I have taught this to groups of six-year-olds and to my own children at the kitchen table. What follows is the version that actually works: soft materials, short sessions, and a project small enough to finish before attention runs out. It is written for the adult doing the teaching, because in my experience the adult is the part that needs the plan.
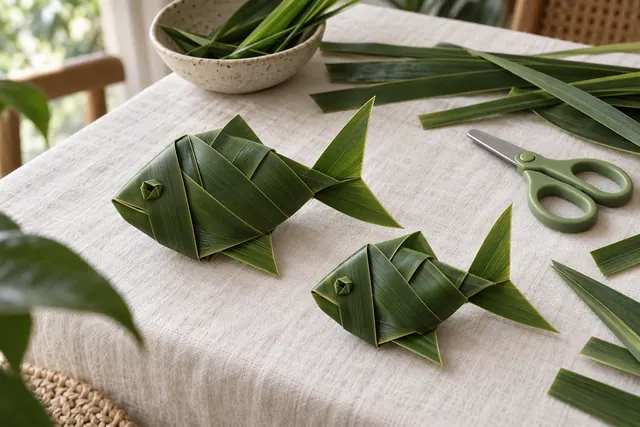
Weaving is one of the few crafts that suits a child's hands almost immediately. The material is soft, the mistakes are cheap, and the basic move - one strip over, one strip under - can be learned in about five minutes. Compare that with knitting, where a single dropped stitch can undo an hour of work, or with clay, which dries out and cracks. Weaving forgives. The difficult part is not the technique at all. It is choosing a project small enough that a young maker reaches the end while they still care about it, because the craft only becomes rewarding once something is finished.
Choosing the right age and the right project
Most children are ready somewhere between six and eight. Before six, the fine motor control needed to hold tension is usually not there yet, and the session quietly becomes an adult weaving while a child watches. That is still a lovely shared activity, but call it that rather than a lesson. From about eight, children can follow a short sequence of steps and fix their own mistakes, which is the point at which weaving becomes genuinely theirs. If you are unsure, watch how they hold a pencil: a child who can draw a deliberate square can usually manage a strip.
What You'll Need
- 6 to 8 soft palm or coconut leaf strips, about 1 cm wide and 30 cm long
- A blunt tapestry needle or a small hair clip to hold loose ends
- Blunt scissors
- A shallow tray or a tea towel to keep the table dry
- A bowl of water and a cloth for softening stiff leaves
Softness matters more than anything else for small hands. A brittle strip will crack at the fold, and a crack is discouraging in a way that a loose weave never is. Wipe each strip with a damp cloth and let it rest for two minutes before you begin; that short wait turns a stiff leaf into something closer to ribbon. If you are using leaves straight from the garden, this step is not optional. Freshly cut palm is often stiffer than it looks, and it only becomes workable once the surface moisture has softened the fibres.
Step-by-Step for a First Weave
-
1
Soften the strips
Wipe each strip with the damp cloth and let it sit for two minutes. If a strip still cracks when you bend it, dampen it again and wait a little longer. Stiff leaves are the most common reason a child gives up, so do not skip this step even if the leaf feels flexible.
-
2
Demonstrate one row slowly
Weave the first two rows yourself while the child watches. Say the rhythm out loud as you go: over, under, over, under. Naming the movement helps them copy it, and it gives them something to say back to you when it is their turn.
-
3
Hand over the strip
Let them weave the third row with your hand resting lightly over theirs, then take your hand away. Try not to correct every small gap; the weave will even out on its own, and a child who is corrected constantly stops enjoying the task.
-
4
Secure the ends
Show them how to tuck the last strip back under the weave, or clip it with a hair clip if tucking feels too fiddly for now. Tucking is the one skill that genuinely needs a demonstration, so do it twice before handing it over.
-
5
Finish and name it
Trim the edges together and let them decide what the object is: a mat, a bookmark, a coaster. Naming it is what makes them want to make another, and it turns a practice piece into a possession.
Helpful Tips
- Keep sessions to 20 or 30 minutes and stop while it is still fun. It is far better to leave a child wanting more than to push through to a finished piece they no longer care about.
- Cut strips wider, about 2 cm, for children under seven so the weave fills faster and they see progress sooner.
- Work over a tray so dropped strips do not roll onto the floor and disappear under the sofa.
- Let them choose colours if you are using dyed leaves, even when the combination is loud; ownership matters more than taste at this age.
Projects that finish in one sitting
| Project | Age | Time | Why it works |
|---|---|---|---|
| Bookmark | 5 to 6 | 10 minutes | One flat row, no shaping, an immediate result |
| Woven mat (10 cm) | 6 to 8 | 25 minutes | Teaches the over-under rhythm without any shaping |
| Simple bracelet | 7 to 10 | 20 minutes | Worn afterwards, so it feels like real jewellery |
| Small square basket | 9 to 12 | 45 minutes | First project with sides; needs an adult for the rim |
Notice that every project on that list is finished, not abandoned. A completed rough mat does more for a child's confidence than a half-finished perfect one, and it gives them a reference point for the next attempt. When a child has made three small things, the fourth is noticeably neater, because they are no longer thinking about how to weave at all - only about what they are making.
If a child loses interest halfway, finish the piece yourself and hand it back tomorrow. An abandoned half-weave teaches them that the craft is frustrating; a finished one teaches them that it is possible. The difference between the two outcomes is usually just timing.
One more thing worth saying plainly: children rarely care about neatness the way adults do, and pushing for an even weave is the fastest way to end a session badly. Aim for a finished object with a few loose gaps rather than a flawless object that never gets finished. The tidy weave comes with practice, and practice only happens when the first attempts are allowed to be rough. Keep the early pieces, too. A row of crooked mats on the wall is a better advertisement for the craft than a single perfect one, because it shows the whole journey.
Ready to weave together?
Our beginner kits include soft, child-friendly leaf strips and blunt tools.