
In short
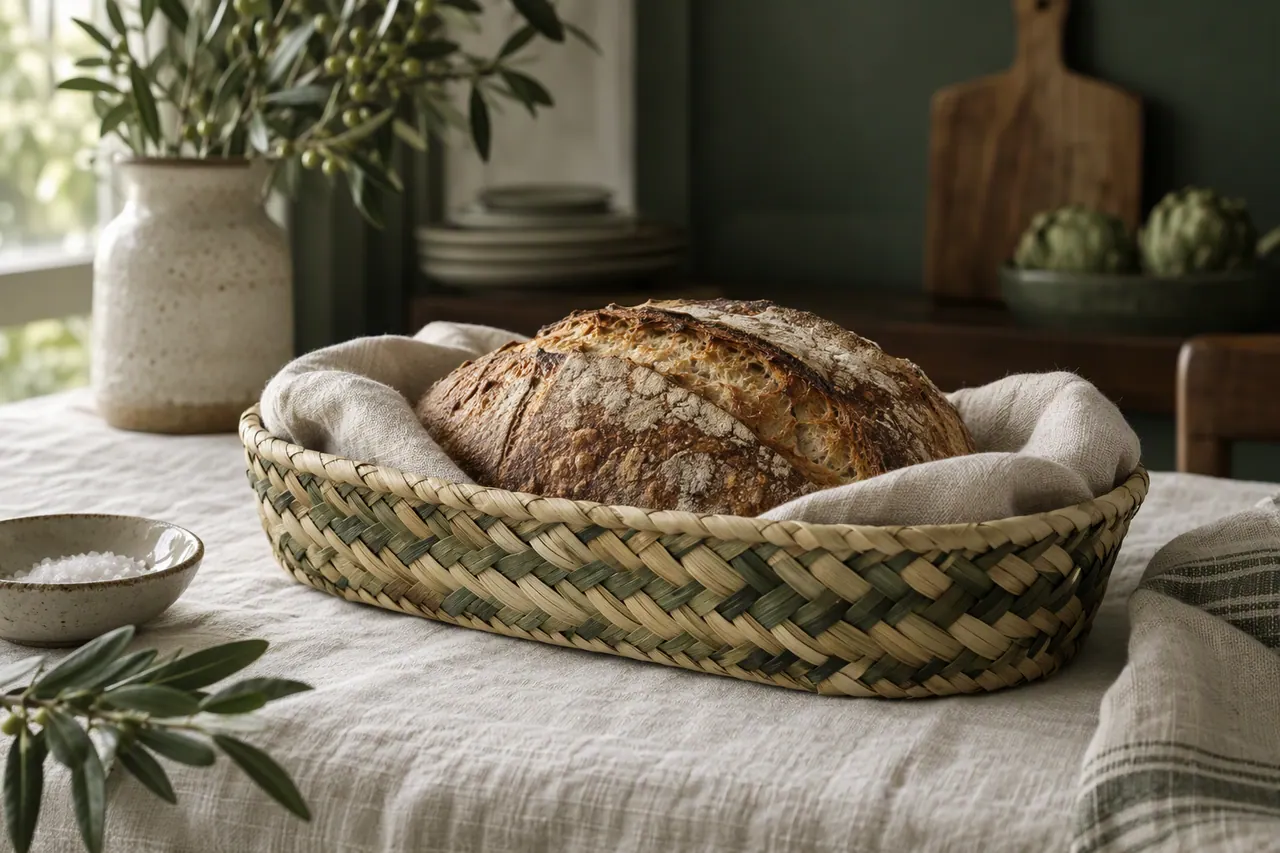
A shallow oval palm leaf basket, about 28 cm long, lined with washable linen so warm bread never touches the weave. Takes about two hours to build.
A bread basket earns its keep. It holds a warm loaf on the table, keeps rolls off the counter, and looks far better than the plastic tray it replaces. This one is a shallow oval, roughly 28 cm long and 18 cm wide, with walls about 7 cm high.
I line mine with a simple linen cloth, cut and hemmed to fit. The liner is the quiet genius of the whole project: it keeps crumbs out of the weave, it is washable, and it lets you use a softer, more open weave for the basket itself.
Palm leaf is a good choice here because it holds a shape without much support. The trick with any bread basket is to keep the base flat and the walls low, so the basket reads as a serving dish rather than a container. Low walls also mean you use fewer leaves and less time. Start this project on a dry day and let the finished basket dry slowly indoors; a basket that dries too fast in direct sun will warp at the rim.
A shallow basket also uses less material, so this is a good project for the last leaves of a bundle. Weave with the vein running along the strip rather than across it and the base will lie flatter and hold its oval shape better. If you only have narrow leaves, use more strips at 1 cm wide and keep the same total width.
Choosing Leaves for a Food Basket
Use about 16 to 20 strips, each 1.5 cm wide and at least 60 cm long. Fresh leaves are flexible but shrink as they dry, which is why I weave this basket a little tighter than a decorative one. If your leaves have been off the tree for more than a day, soak them in cool water for twenty minutes and pat them dry before you start. Test one strip by folding it back on itself; if it cracks, soak it again. A food basket also wants clean material, so wipe every strip with a damp cloth before it goes into the weave.
What You Will Need
- 16 to 20 palm leaf strips, 1.5 cm wide and 60 cm long
- Sharp scissors or a craft knife
- A spray bottle of water
- A 30 cm ruler or a spare strip as a gauge
- 2 pegs or small clips
- 30 x 45 cm of washed linen for the liner
- Matching thread and a sewing machine or needle
Weaving the Oval Base
Step-by-Step Instructions
-
1
Lay the warp
Cut five strips to 40 cm. Lay them side by side with 2 cm gaps, then place a second set of five across them to make a loose grid. Spray lightly with water so they lie flat.
-
2
Weave the centre
Starting at the middle, weave one long weaver over and under the cross strips, working outwards. Keep every gap at 2 cm; this is what makes the oval even.
-
3
Shape the oval
When the base reaches about 28 cm by 18 cm, stop adding rows. Press the base flat under a book for ten minutes so it holds its shape before you turn the walls.
-
4
Turn up the walls
Fold every protruding strip upwards at the edge of the base. Crease each fold firmly between your thumb and nail, and spray the fold line if it resists.
-
5
Weave the walls
Weave a continuous weaver around the uprights for about 7 cm of height, tightening as you go. Expect the first two rows to look loose; they firm up as you build.
-
6
Finish the rim
Fold the last upright down over the top row and tuck each end back into the weave. Trim flush with sharp scissors and press the rim with your thumb.
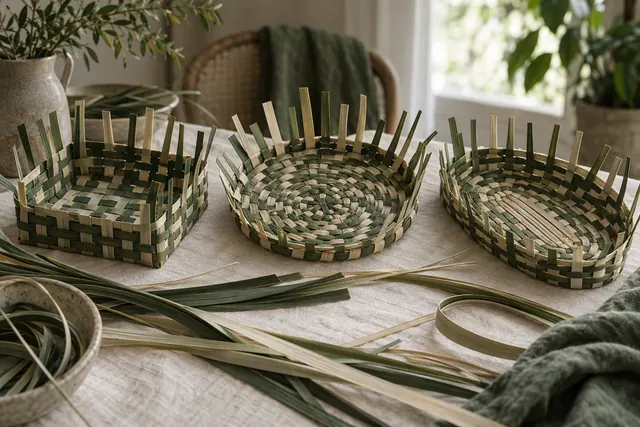
Once the weave is finished, resist the urge to use it straight away. Leave the basket in a dry room, away from radiators and direct sun, for three days. Palm goes from soft to firm over that time, and the rim sets where you pressed it. If you skip this and load the basket while it is still damp, the base will bow under the first warm loaf and the oval will flatten at the ends.
Making the Linen Liner
The liner is a rectangle with two short side seams, sized so it sits just inside the rim and drapes over the top. Cut a piece 34 cm by 26 cm, fold it in half, and stitch the two short ends. Turn it right side out, press the seams, and hem the top edge with a 1 cm double fold. Wash the linen once before you cut it, otherwise the liner will shrink away from the rim after its first wash and you will be left with a gap at the corners. If you do not sew, a plain folded rectangle of linen works almost as well: lay it in the basket and tuck the corners down behind the weave.
Sewing the Liner
-
1
Cut and press
Cut the washed linen to 34 x 26 cm and press it flat with a hot iron.
-
2
Sew the sides
Fold in half, right sides together, and stitch the two short sides with a 1 cm seam.
-
3
Turn and press
Turn right side out and press the seams open so the liner sits flat in the basket.
-
4
Hem the top
Hem the top edge with a 1 cm double fold and topstitch all the way around.
-
5
Fit the liner
Slip it into the basket and fold the hem over the rim, adjusting the corners to lie neatly.
Helpful Tips
- Weave the base two rows tighter than feels right; palm shrinks as it dries and loose baskets rattle.
- If a strip cracks while you fold it, spray it and wait two minutes before trying again.
- Pre-wash the linen so the liner does not shrink away from the rim after its first wash.
- A shallow basket dries faster than a deep one, so this project is ready to use in about three days.
Want one without the weaving?
Our bread baskets are woven by hand and finished with the same removable linen liner.