
In short
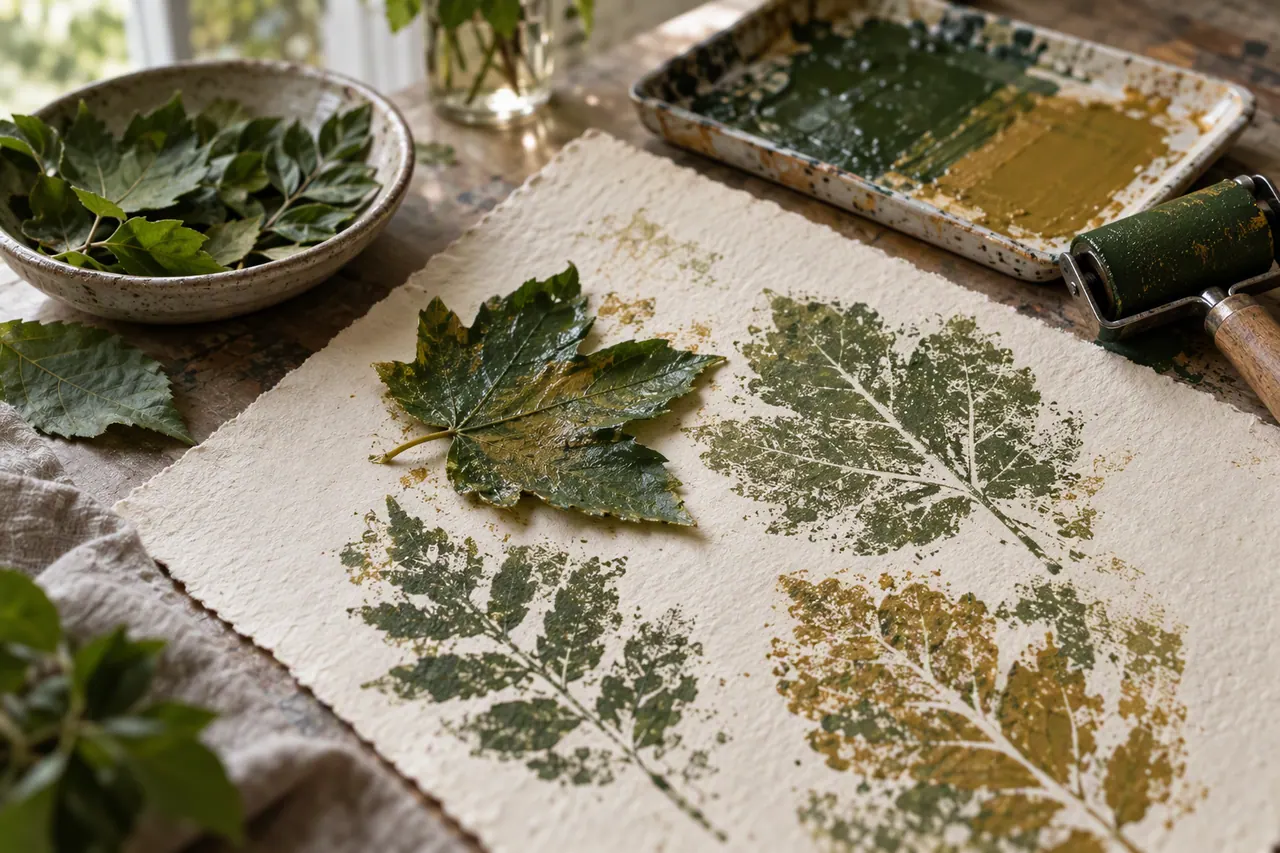
Three easy leaf printing methods for children, from painted leaf stamps to hammered prints, with real paint ratios and paper weights that actually work.
Leaf printing is the easiest way to get a genuinely beautiful result out of a short craft session. There is no drawing skill required and no fine control, only paint, paper and a leaf pressed flat for a few seconds. Even a three-year-old can produce something worth putting on the fridge.
These three methods cover most ages and most kitchens. Each one uses materials you probably already own, and each leaves you with a print worth keeping. I have run all three with groups of a dozen children, and the notes below are the ones that stopped the sessions going wrong. None of the three methods needs anything more exotic than paint, paper and a leaf, and all three can be set up in a kitchen in under five minutes.
The appeal of leaf printing is that the leaf does all the hard work. Its veins, edges and ribs are already a picture; all you do is transfer that picture to paper. Palm and coconut leaves are especially good for this because their long parallel veins make bold, graphic prints rather than fussy detail. A single frond printed four times in a row looks like a deliberate pattern, which is very satisfying for a child who has never made art before. A palm frond printed in a single colour across a plain card looks intentional in a way that a freehand drawing rarely does, and that quiet confidence is worth a great deal to a child who is still deciding whether they are any good at art.
Method one: painted leaf stamps
What You'll Need
- Fresh palm or coconut leaves, 15 to 25 cm long
- Thick paint: ready-mixed tempera or acrylic, not watercolour
- Heavyweight paper, 160 gsm or thicker
- A foam brush or a small roller
- A tray lined with newspaper
- A damp cloth for wiping fingers between prints
Paint is the variable that catches people out. Thin paint runs into the veins and produces a grey smudge; thick paint sits on the surface and prints cleanly. If your paint is runny, leave the lid off for ten minutes before you start, or mix in a little flour to thicken it. Poster paint straight from the bottle is usually about right, while anything labelled washable tends to be too thin for printing. As a rough guide, paint should sit on the brush like thick cream; if it drips off the brush, it is too thin, and if it drags and skips across the leaf, it is too thick.
Painted Leaf Print, Step by Step
-
1
Coat the leaf
Lay the leaf vein-side up and dab paint across it with a foam brush. Use a thin, even coat; too much paint fills the gaps between veins and the print turns into a solid blob. It is better to add a second thin coat than to load the brush once.
-
2
Position it carefully
Turn the leaf over and press it paint-side down onto the paper. Do not slide it. Place it once and leave it, because even a small movement smears the print and blurs the veins.
-
3
Press firmly
Cover the leaf with a sheet of scrap paper and rub over it with the flat of your hand for ten seconds, working from the stem towards the tip. The scrap paper keeps the paint off your hands and helps the leaf sit flat against the page.
-
4
Peel from the stem
Lift the leaf from the stem end in one slow movement. Pulling from the tip tears the print and smears the edges, which is the single most common mistake in painted leaf printing.
-
5
Repeat in a pattern
Print the same leaf four or five times across the page, turning it slightly each time, to build a repeating pattern. Re-ink the leaf between prints, since each press removes a little paint.
Method two: leaf rubbings
Rubbings need no paint at all, which makes them the best choice for very young children or for a session with no clean-up time. Place a leaf vein-side up under the paper and rub over it with the side of a wax crayon or a soft pencil. The veins appear within seconds. Palm leaves with strong parallel ribs give clean stripes; broader leaves give a softer, more detailed texture. Try both on the same page and the difference is obvious and, to a child, genuinely surprising. Rubbings are also the cheapest of the three methods, needing nothing you would not already have in an ordinary pencil case.
Helpful Tips
- Tape the paper to the table so it does not shift while rubbing; a moving page ruins the pattern.
- Use the flat side of a peeled crayon rather than the point, and press evenly rather than hard.
- Overlap two or three rubbings in different colours for a layered effect that looks far more deliberate than it is.
Method three: hammered leaf prints
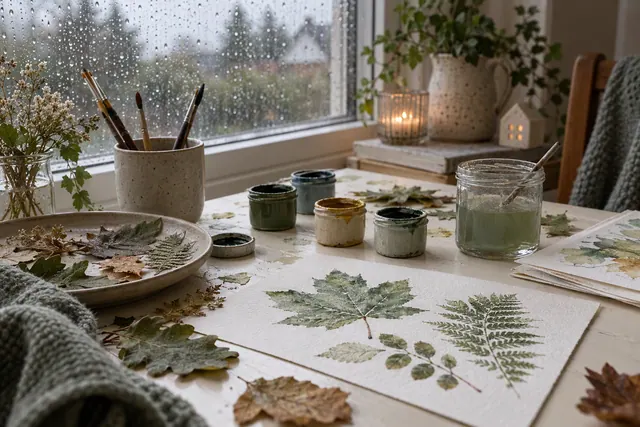
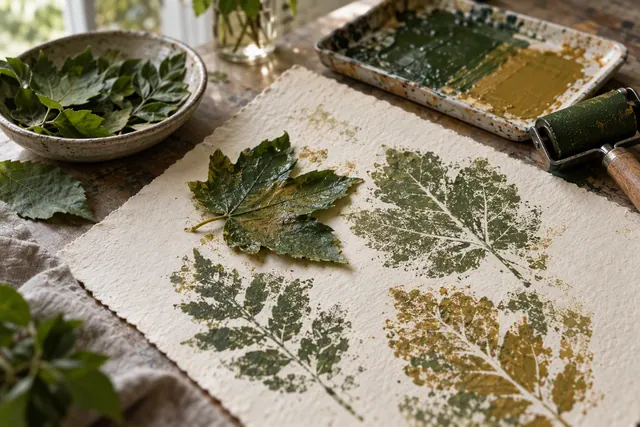
Hammering a fresh leaf releases its own pigment onto paper, with no paint involved. It is loud and satisfying, and it works best with juicy green leaves. Place the leaf on watercolour paper, cover it with a paper towel, and tap firmly over the whole leaf with a small hammer for 30 to 60 seconds. Peel the towel and leaf away to reveal a soft green ghost of the veins. The colour fades over a few weeks as it oxidises, so photograph the best ones while they are fresh. Wear old clothes for this one, since the pigment stains fabric, and work over a hard floor rather than carpet, because the fine spray travels further than you expect.
| Method | Best age | Time | Clean-up |
|---|---|---|---|
| Painted stamp | 4 and up | 15 minutes | Moderate; paint on hands |
| Rubbing | 3 and up | 10 minutes | Minimal |
| Hammered print | 6 and up | 20 minutes | Low, but noisy |
Hammered prints need a firm, flat surface and an adult nearby. A cutting board under the paper protects the table, and children should be shown how to tap rather than swing, so the paper does not tear. Keep the hammer small; a tack hammer is plenty, and a full-size claw hammer is both heavier and harder for a child to control.
Turn prints into gifts
Our pressed leaf packs give you a season of printing material in one box, chosen for strong veins.