
In short
Turn a handful of fresh palm leaves into a sturdy, useful basket in one afternoon. A complete beginner guide with real measurements, timings and honest fixes.
You need two things to make a basket: leaves that still bend, and the patience to keep the tension even. Everything else is technique, and technique can be learned in a single afternoon.
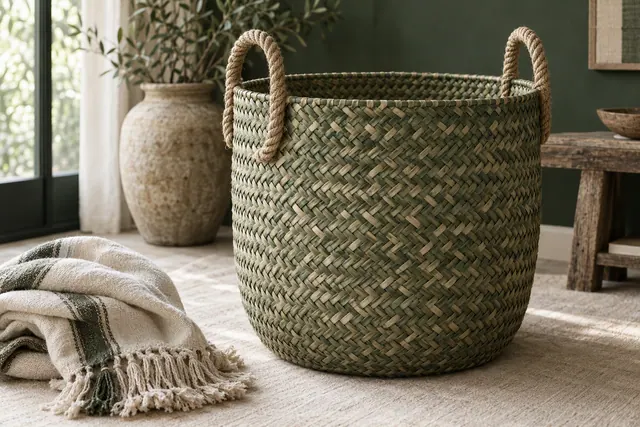
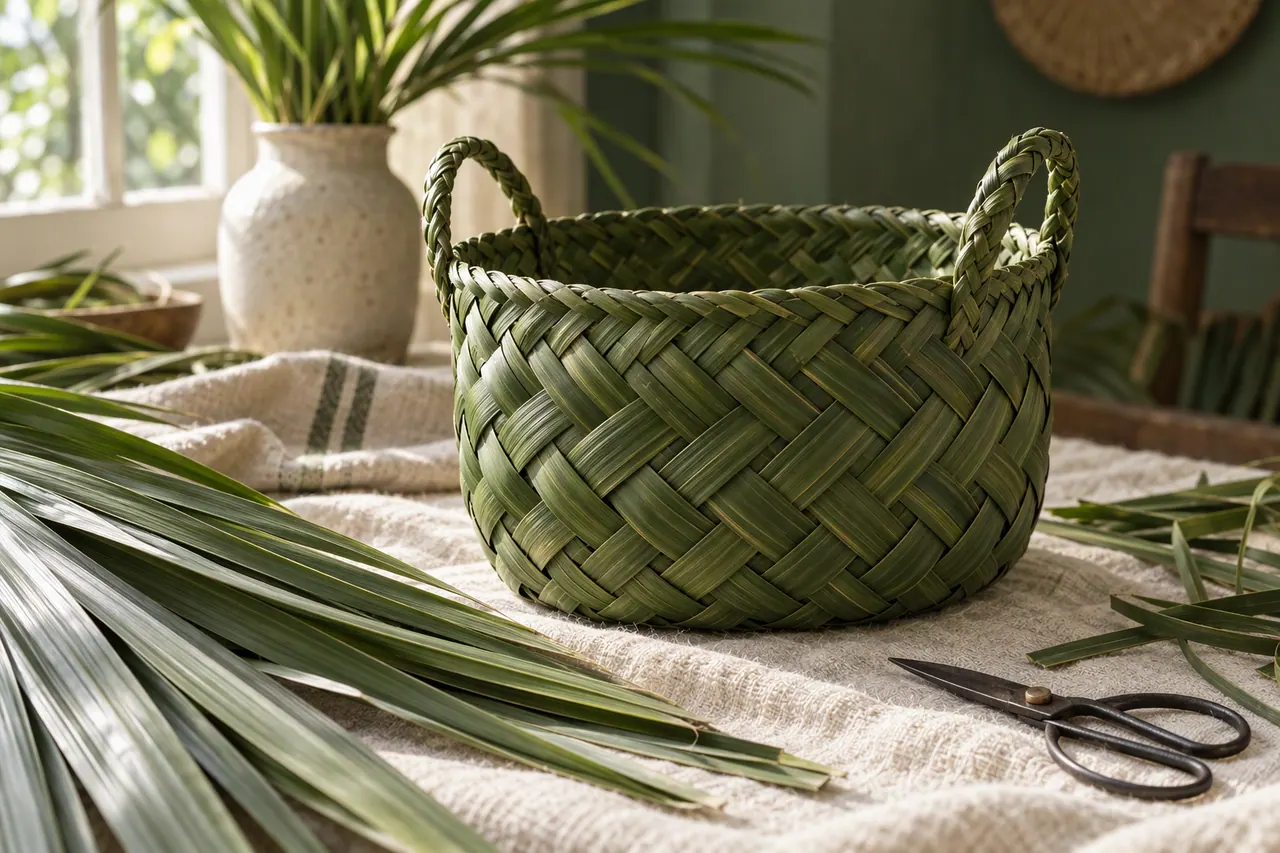
This is the basket I teach first, because it is small enough to finish in one sitting and useful enough that you will actually keep it. A 20 cm square base, straight sides about 14 cm tall, and a folded rim that hides every loose end.
Plan on two and a half hours for your first one. The second takes ninety minutes.
Palm leaves are forgiving in a way that willow and cane are not. There is no bark to soak and no thorns to strip, and a single frond gives you twenty or thirty usable strips for free. The catch is that fresh leaves dry out fast. Within about four hours of picking, a leaflet that folded like ribbon in the morning will crack along the grain when you bend it. So the real skill in palm leaf weaving is not the pattern. It is working with the leaf while it is still alive and soft. Once you understand that, the basket itself is just a shape you build by hand, row by row, with no special tools and no workshop.
What You'll Need
- 1 fresh palm frond, about 20 leaflets (or 20 pre-cut strips)
- Sharp scissors or a craft knife
- A shallow bowl of clean water for dipping
- A 30 cm ruler or straight edge
- A clothes peg or small clip to hold the weave
- A spray bottle (optional, but it genuinely helps)
- A damp cloth to rest the unused strips on
Preparing the strips
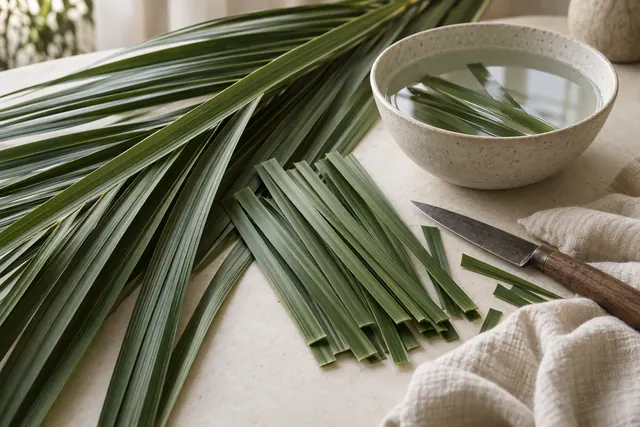
Cut each leaflet from the central spine with scissors, then lay it flat and slice it into strips about 2 cm wide. Thin leaflets can stay whole. Remove the tough midrib that runs down the centre of each strip by pinching it at the tip and pulling it away in one motion; if it snaps, the leaf is already too dry and wants a ten-minute soak. You want strips that are long, uniform and slightly cool to the touch. Set them under the damp cloth as you go, and never prepare more than you can weave in half an hour, because cut strips lose their flexibility far faster than whole leaves do.
Weaving the basket, step by step
-
1
Lay out the base
Arrange six strips side by side running vertically, about 2 mm apart. Cut two of them longer than the rest to act as outer edges. The finished base will be roughly 20 cm square, so leave 10 cm of overhang at each end.
-
2
Weave the first crossing strip
Take a horizontal strip and weave it over the first upright, under the second, over the third, and so on. Push it up tight against the top and peg it in place so it cannot slide while you work.
-
3
Fill the base
Weave four more horizontal strips the same way, reversing the over-under pattern on each row so the weave locks together. Aim for a firm, flat square about 20 cm on every side, and check it against the table before you turn the sides up.
-
4
Turn up the sides
Fold every vertical strip upwards at the edge of the base and crease it firmly with your thumbnail. This crease is what makes the corner hold, so do not rush it. A soft crease here means a wall that leans for the rest of the build.
-
5
Weave the walls
Weave horizontal strips around the four sides, going over one upright and under the next. Keep the rows level and pack them down with your fingers every two or three rounds, building up to about 14 cm of height.
-
6
Fold the rim
At the top, fold each upright over the last horizontal row and tuck the tip down inside the wall, two rows deep. Trim the excess only once it is fully hidden, and work around the basket in one direction so the folds overlap neatly.
Finishing and drying
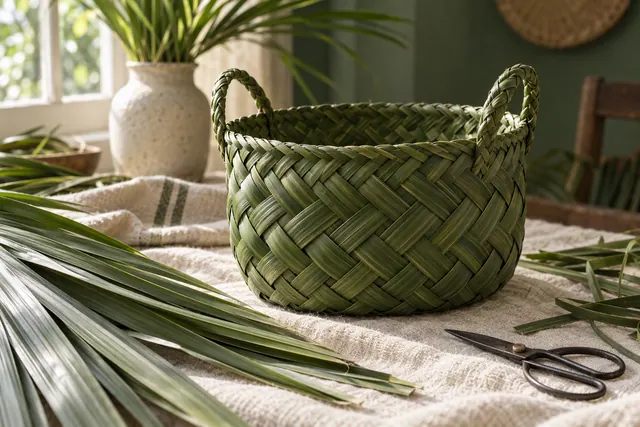
A fresh basket is soft and slightly floppy, and that is normal. It firms up as it dries, so do not panic if the sides feel loose on day one. Leave it in a warm, airy room for two to three days, out of direct sun, turning it once a day so it dries evenly. When the leaf has gone from green to a pale straw colour it is ready. If any ends pop out during drying, a drop of water will soften them enough to tuck back in, and a second drop will seal the fold. Once it is fully dry, a thin coat of beeswax on the outside will keep the colour rich and help it shrug off the odd splash.
Helpful Tips
- Work with the leaf, not against it. If a strip cracks at the fold, dip it for five minutes and try again rather than forcing it.
- Keep the damp cloth over the strips you are not using. Ten minutes of drying is enough to make them brittle.
- Tension matters more than speed. Even rows look deliberate; tight and loose patches look like a mistake.
- Do not overfill the base. If the weave feels crowded, take a strip out instead of forcing another through.
- Count your uprights before you start the walls. An even number keeps the weave level; an odd number makes it spiral.
| Problem | Cause | Fix |
|---|---|---|
| Strips crack when folded | The leaf has dried out | Soak for 5-10 minutes, blot dry, then fold |
| Walls lean inward | Rows packed too tightly at the bottom | Loosen the first three rows, re-pack the top |
| Basket still floppy after drying | The weave is too loose | Add one tight row just below the rim |
| Green patches turn brown | Sun damage while drying | Dry in shade and turn the basket daily |
Do not dry your basket in direct sunlight or next to a radiator. Fast drying makes the leaf brittle, and the walls will pull apart at the corners within a week.
Want the basket without the weaving?
Every piece in our collection is handwoven from the same fresh palm leaves, dried slowly and finished by hand.