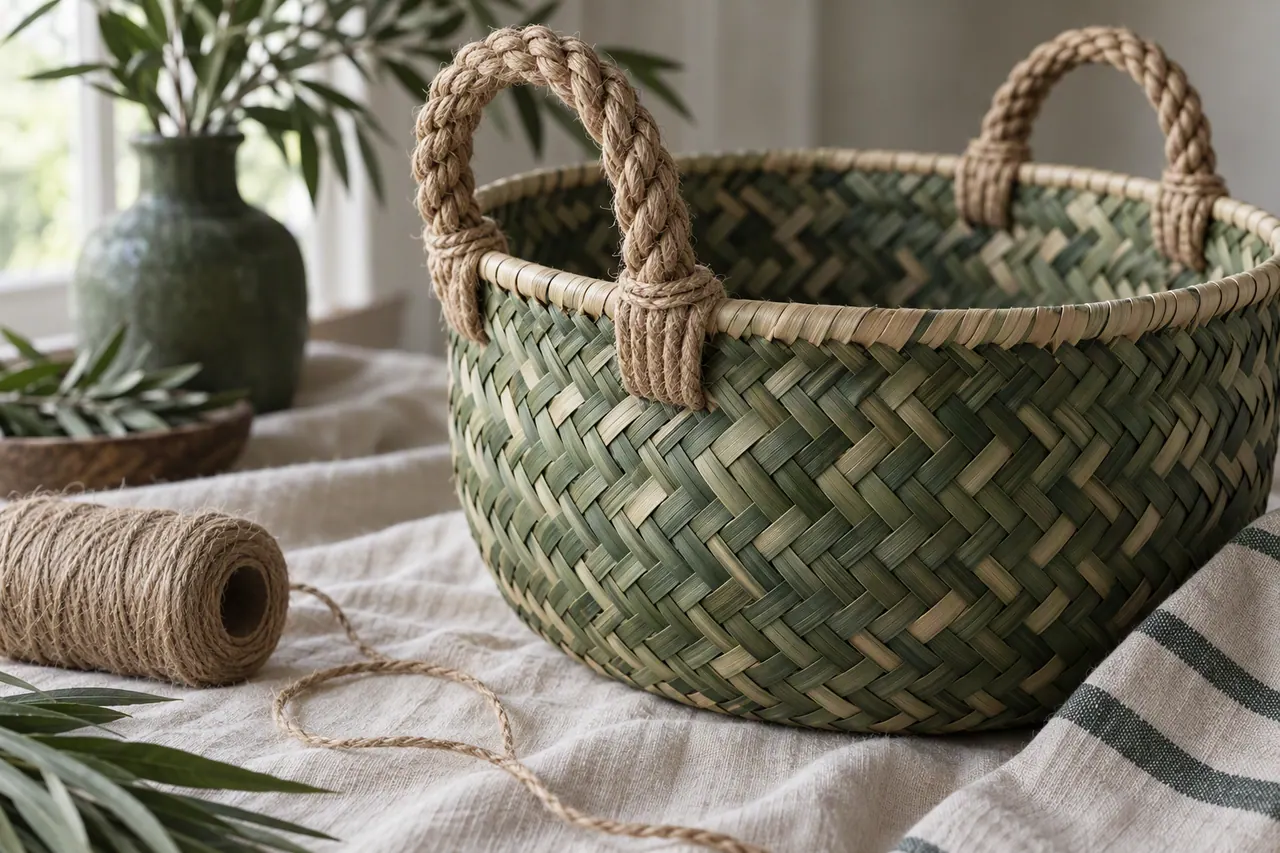

In short
A handle is where most baskets fail. This guide covers rope, braided and woven handles, with the wrap that stops them pulling through the rim.
I have watched more baskets fail at the handle than anywhere else. The weave holds, the rim holds, and then one day the handle tears through and the whole thing sags. A handle carries the entire load through two small points, so it needs more thought than the basket around it.
There are three handles worth knowing, and one wrapping technique that makes all of them last. Get that right and your basket will outlive the fruit it carries.
The mistake is attaching a handle to the rim with a single knot. The load concentrates on one strand of leaf, which cuts through within a few weeks. The fix is to spread the load over four or five strands of the weave, which is what the wrapping method below does. It takes ten extra minutes and roughly doubles the life of the basket. A handle should also be sized to the job: a delicate braid on a laundry basket will fail, and a thick rope on a gift box looks clumsy. A good handle disappears into the design; you notice it only when you lift the basket.
Which Handle for Which Basket
| Handle type | Best for | Load it takes |
|---|---|---|
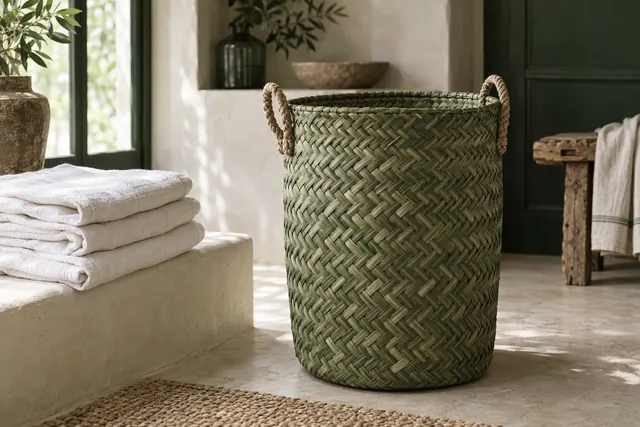
| Rope handle | Laundry and storage baskets | Up to about 8 kg. |
| Braided leaf handle | Bread and fruit baskets | Light, up to 2 kg. |
| Integrated woven handle | Small gift boxes and bags | Light, up to 1.5 kg. |
| Two-point leather strap | Serving trays | Moderate, up to 4 kg. |
Before you commit to a handle, think about how the basket will actually be lifted. A laundry basket is dragged and swung, so it needs rope and a wrapped rim. A bread basket is carried flat and lightly, so a slim braid is enough and looks far better. Matching the handle to the load is the difference between a basket you use for years and one that gives way at the worst moment. When in doubt, go one size stronger than you think you need.
Attaching a Rope Handle
Step-by-Step Instructions
-
1
Choose the rope
Use 8 mm natural jute or cotton rope. Cut two lengths of 45 cm for a basket about 30 cm across, or 60 cm for a large laundry basket.
-
2
Find the anchor points
Mark two points on the rim roughly 12 cm apart on each side, centred on the basket. Even spacing is what stops the handle twisting when you lift.
-
3
Thread the rope
Pass each rope end down through the rim and out through the wall, two rows below the top. Pull it snug so the rope sits against the weave.
-
4
Wrap the rim
Wrap a thin leaf strip tightly around the rim and the rope together, eight to ten turns, to spread the load. Tuck the wrap ends into the weave.
-
5
Knot inside
Tie the rope ends inside the basket with a double knot and trim, leaving 3 cm of tail tucked into the weave so it cannot work loose. A dab of beeswax on the knot stops it slipping.
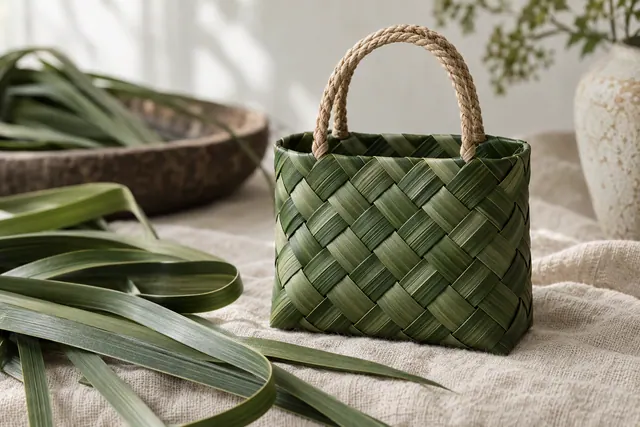
Braiding a Leaf Handle
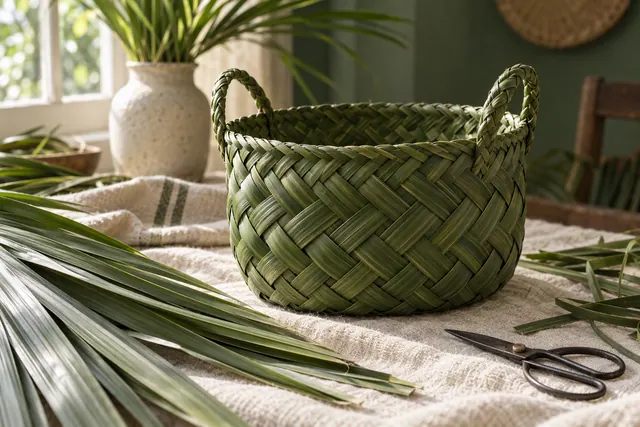
Making the Braid
-
1
Soak three strips
Soak three strips, 1 cm wide and 80 cm long, for ten minutes so they bend without cracking. Dry leaves will snap as you plait them.
-
2
Anchor and braid
Anchor the three strips under a heavy book and braid them together in a simple three-strand plait. Keep the tension even so the braid stays flat.
-
3
Check the length
Braid until the handle measures 30 cm, then tie the end tightly with a scrap of leaf so it cannot unravel. Trim the loose ends to 2 cm.
-
4
Attach both ends
Tuck each end through the rim in two places, 10 cm apart, and weave the tails into the wall so the load is shared.
Testing Before You Trust It
Whatever handle you choose, test it before you rely on it. Load the basket with its intended weight and lift it slowly, watching where the rim flexes. If the rim bows more than a few millimetres, or if you can see the weave opening around the anchor points, add another anchor or widen the wrap. A handle that creaks under load is telling you it is working too hard. It is far better to find that out at the workbench than halfway up the stairs with a basket of washing. If a handle passes the test, it will keep passing it; if it flexes now, it will only get worse.
Test every handle before you trust it. Load the basket with its intended weight and lift it. If the rim flexes more than a few millimetres, add another anchor point.
Helpful Tips
- Match the handle to the job; a decorative braid will not carry wet laundry.
- Wrap the rim where the handle meets it, always; this is the point that fails first.
- Use natural jute rather than nylon so the whole basket can compost at the end of its life.
- Make the handle last, after the rim is finished, so you can see exactly where it sits on the basket.
- Two handles are stronger than one; for heavy baskets, always weave a pair, one on each side.
Handles, already sorted.
Our baskets come with reinforced handles, wrapped by hand at the rim.