
In short
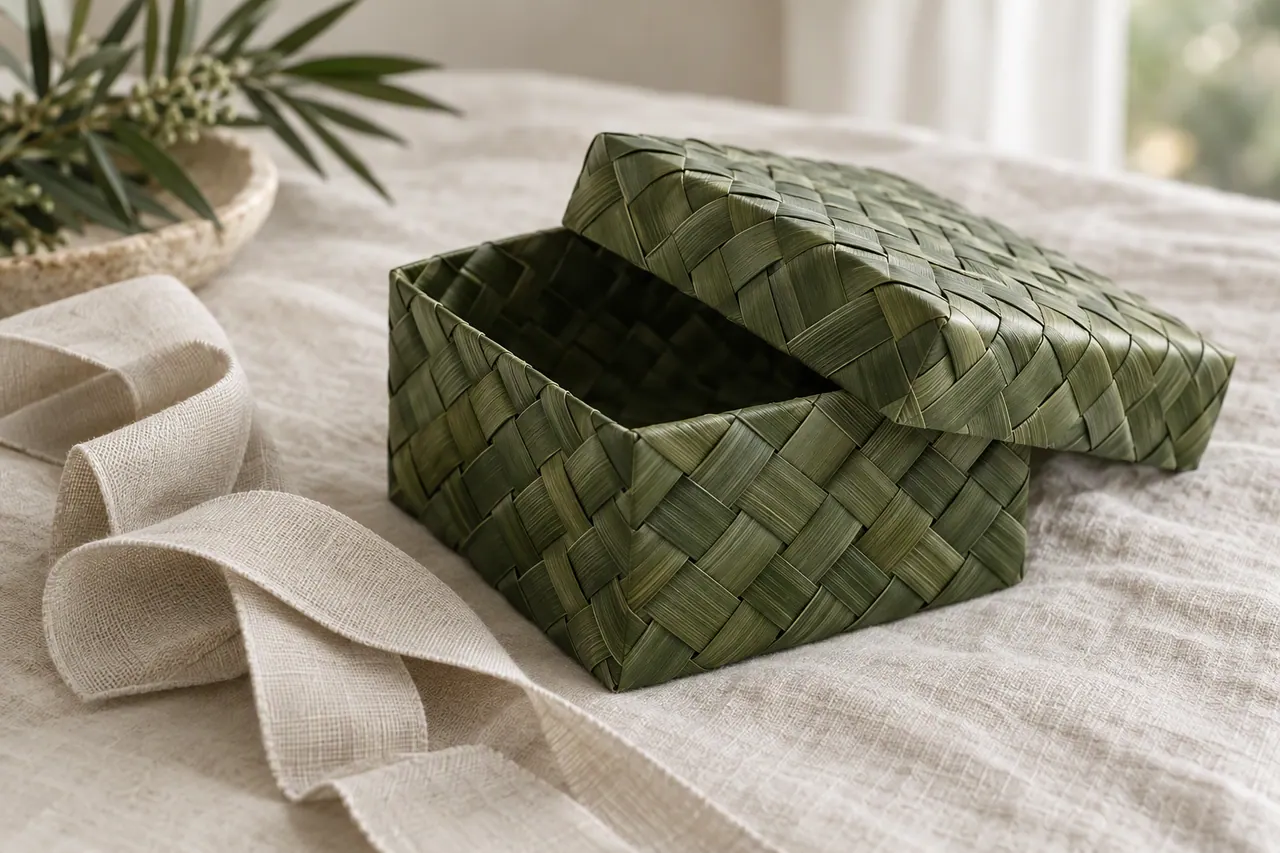
A square palm leaf gift box, 12 cm across, with a lid that seats with a soft click. Includes the sizing trick that gets the lid right on the first try.
A woven gift box does something paper never manages: it becomes part of the present. Guests keep them, refill them, and put them on shelves. This one is a square base 12 cm across with walls 8 cm tall, topped by a lid that drops on with a satisfying click.
The whole project lives or dies on the lid fit, and that is the part most tutorials skip. I will give you the exact sizing rule I use, and the two-minute adjustment for when the lid is stubborn.
Weave the box base first, then measure it. Do not trust the ruler against the plan; a hand-woven base never comes out at exactly 12 cm. The lid is built to match what you actually made, which is why this box fits on the first try when other patterns do not. A box that is 12 cm square and 8 cm tall holds a small jar, a folded scarf or a handful of soaps, and it stacks neatly with others of the same size.
Material for One Box and Lid
What You Will Need
- 14 strips, 1.2 cm wide and 50 cm long, for the base and walls
- 10 strips, 1.2 cm wide and 40 cm long, for the lid
- Sharp scissors
- A bowl of cool water
- A ruler and a pencil
- A small weight or two pegs
Step-by-Step Instructions
-
1
Weave the base
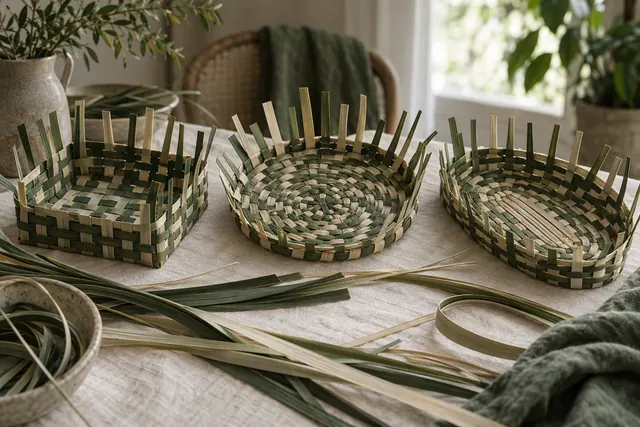
Lay five strips vertically with 2.5 cm gaps, then weave five more across them. Work outwards from the centre until you have a square of about 12 cm. Keep the corners square by checking them against the edge of the table.
-
2
Fold up the walls
Fold every edge strip upwards and crease hard. Weave around for 8 cm of height, keeping the corners square by pinching them as you pass. The first two rows look untidy; they tighten as you build.
-
3
Finish the box rim
Fold the last upright down and tuck it into the row below. Trim the ends and press the rim flat with your thumb so the lid has a level surface to sit on.
-
4
Measure the lid
Measure the outside of the box across the top. Add 1.5 cm to that number; this is the width your lid base must reach. Write it down before you forget it.
-
5
Weave the lid base
Weave a square base to the width you just calculated, then fold up short walls of 3 cm only. Keep these walls even, as they are what the lid rests on.
-
6
Fit and adjust
Slide the lid on. If it is tight, re-weave the last lid row a little looser; if it rattles, add one extra row of weaving. Test the fit before the leaf dries, while it is still easy to change.
The Sizing Rule That Makes It Fit
Most people weave the lid the same size as the box and wonder why it will not close. The lid base needs to be about 1.5 cm wider than the box, and its walls about 2 cm shorter than the box walls. That extra width gives the lid room to sit over the rim rather than fight it, and the shallow walls mean it lifts off without a tug. Write your box measurement on a scrap of card and keep it on the table; it is easy to lose track once the weaving starts. If your box has come out slightly out of square, match the lid to the longer side and accept a hair of play on the shorter one; a lid that is a touch loose is far easier to live with than one that jams.
- Make a set of three nesting boxes in 10, 12 and 14 cm.
- Weave the lid in banana leaf for a two-tone finish.
- Add a small woven loop to the lid for a jewellery-box look.
- Line the base with felt to stop hard contents rattling.
Finishing and Decorating the Box
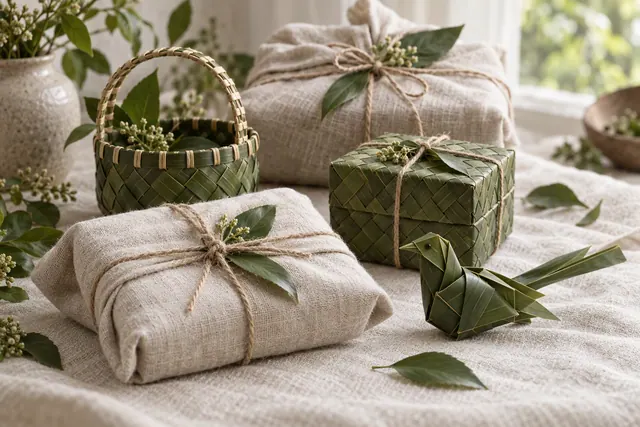
A plain box is handsome, but a few small touches make it feel like a gift. Tie a length of jute twine around the lid and finish it with a single knot rather than a bow, which suits the material better. If you want a liner, cut a square of tissue paper 2 cm smaller than the base and press it into the corners. For a more formal look, weave the lid in a contrasting leaf, using banana leaf for the top row so the lid reads as a deliberate band of colour against the palm. Avoid painting or varnishing the box; it seals the fibre and the leaf can no longer breathe, which traps damp and encourages mould.
If the lid is close but tight, do not force it. Dampen the rim with a spray of water and ease it on while the leaf is soft; it will dry to a snug fit.
Helpful Tips
- Weave both base and lid from the centre outwards so the square stays true.
- Keep all strips the same width; a single 1 mm difference shows at the corners.
- Leave the lid slightly loose on a humid day; leaf swells in damp air and tightens again when dry.
- Line the box with tissue paper if you are giving something delicate.
Prefer a ready-made box?
Our gift boxes come in three sizes and are woven and lidded by hand.