
In short
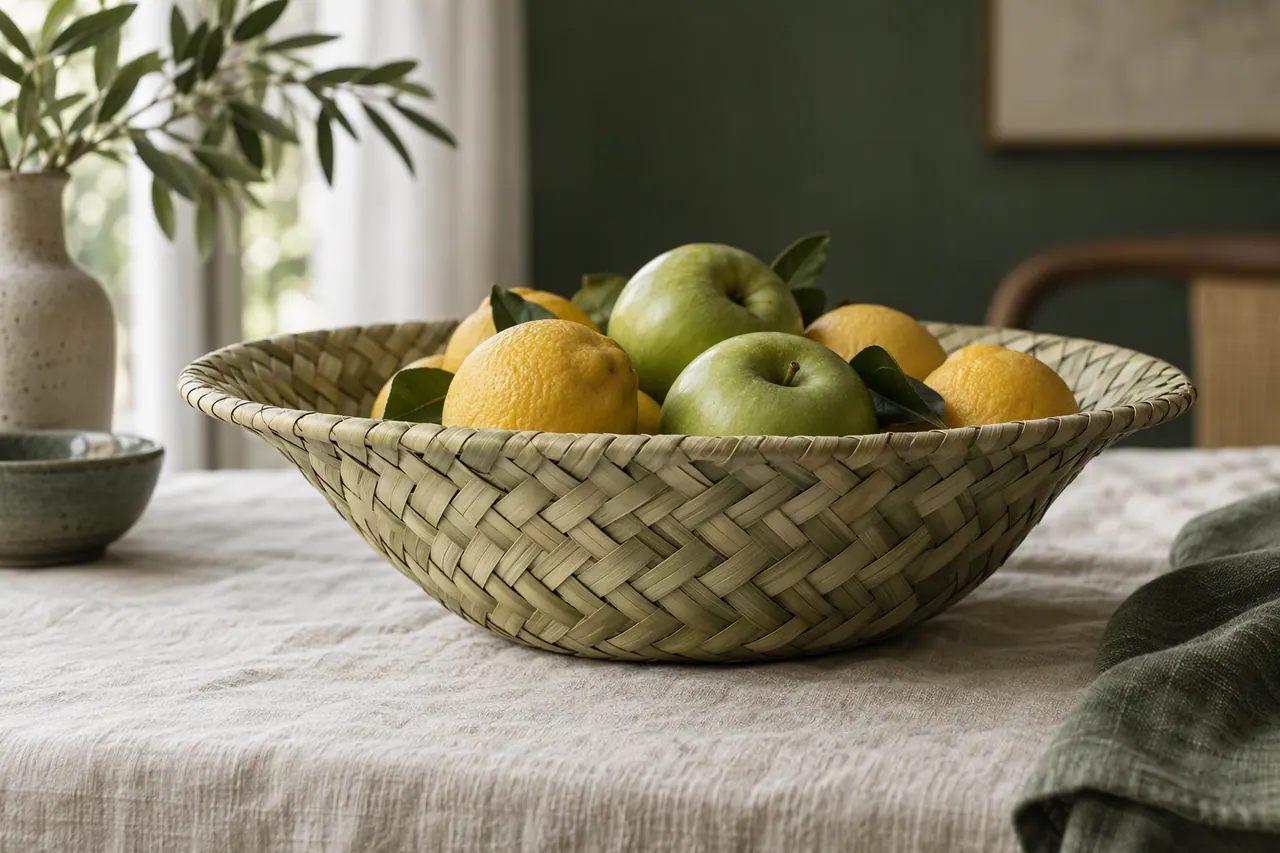
A wide, shallow fruit basket about 30 cm across, with a rim that flares out so the fruit sits low and looks generous. Two hours and ten leaves.
A fruit basket should be wide and shallow, not deep and narrow. Fruit piled in a deep basket bruises at the bottom and hides the best of itself. This one is about 30 cm across with walls only 6 cm high and a rim that flares gently outwards.
It is a good second project. If you can weave a flat base, you already have the hardest part behind you. The flare is the only new skill, and it is easier than it sounds.
The flare is what makes this basket look finished. A straight-sided cylinder reads as a pot; a rim that opens outwards reads as a bowl meant for sharing. You create the flare by spacing your uprights a little wider over the last two rows, so the wall leans out instead of standing vertical. Get it right and the basket looks bought; get it wrong and it looks like a failed cylinder, which is why the final two rows deserve your full attention.
What to Gather
What You Will Need
- 10 long palm leaf strips, 1.5 cm wide and 70 cm long
- Sharp scissors
- A bowl of water and a cloth
- A dinner plate, about 28 cm across, to size the base
- A peg or two to hold the first rows
The dinner plate is more than a prop; it is your gauge. A round base is hard to keep circular by eye, and it is easy to drift into an oval without noticing. Sit the half-woven base on the plate every few rows and trim or add strips until it matches the curve. Ten long strips is enough for a 30 cm basket with a little to spare, but buy twelve if you can, because the leaves that crack or split always seem to be the ones you were counting on.
Step-by-Step Instructions
-
1
Weave the round base
Start with four strips crossed in the centre. Weave outwards in a circle, adding a new strip each time the gaps widen, until the base sits just inside the dinner plate. Check the circle against the plate every three rows.
-
2
Turn the wall
Fold every upright upwards at the edge of the base and crease hard. Peg the first two rows in place while you settle into the rhythm; they are the hardest to keep even.
-
3
Weave straight walls
Weave around for 4 cm keeping the uprights vertical. Check the wall is even by resting the basket on a flat surface and looking across the top.
-
4
Start the flare
For the last two rows, ease each upright outwards by about 5 mm as you pass it, so the wall leans out to a finished width of 30 cm. Go slowly; the flare sets the whole look.
-
5
Finish the rim
Fold the last upright down over the top row and tuck it into the weave below. Work around the whole rim, one upright at a time, so the edge stays level and the fruit does not catch on loose ends.
-
6
Press and dry
Press the base flat and leave the basket to dry indoors for three days, out of direct sun, so the flare sets evenly and the rim does not curl.
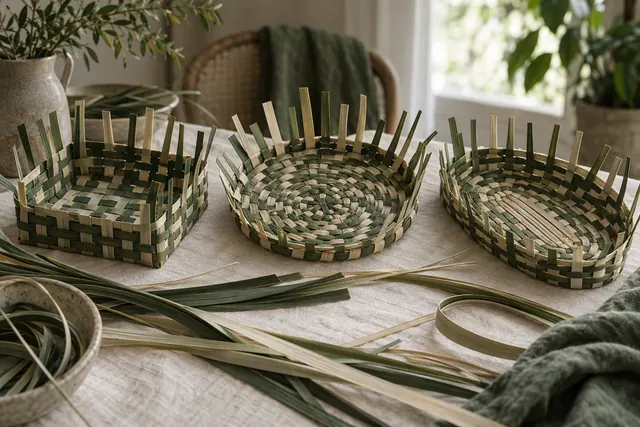
Getting the Flare Right
The most common mistake is flaring too early. If you start easing the uprights outwards after only two rows, the basket looks like a funnel and the fruit rolls to the edge. Keep the walls straight for at least 4 cm, then flare over the final two rows only. If the flare comes out uneven, dampen the rim and press it against the table with your palm to level it before it dries.
Sizing the Basket to Your Table
A 30 cm basket suits a family table and holds about eight apples or a dozen lemons. If you are making it for a smaller kitchen, scale everything down by a fifth: a 24 cm base, 5 cm walls and a 24 cm finished width. Do not simply weave fewer rows on the same base, or the proportions will look wrong and the flare will be too steep. Whatever size you choose, weave it to fit a real bowl or plate in your home so you know it will actually be used. A basket that matches nothing on your table will end up in a cupboard, however well it is made.
Never carry a fruit basket by the rim alone while it is still damp. Support the base until the weave has cured for at least three days. Once cured, the rim is strong enough to lift the basket one-handed.
Helpful Tips
- Weave the base a shade wider than you think; fruit baskets look best generously full.
- Keep the wall height to 6 cm so fruit sits proud of the rim rather than buried.
- Line the basket with a cloth if you plan to serve soft fruit that might mark the weave.
- A flared basket is easier to clean than a deep one; a soft brush reaches every row.
- Weave the flare over two rows only; more than that and the basket looks like a funnel.
Fruit baskets, ready to fill.
Our woven fruit baskets are made to this exact shape and cured for a week before shipping.